How to install Intento for Genesys Cloud
Intento for Genesys Cloud supports real-time translation of the conversations directly in the Genesys chat, allowing Agents from all over the world to work with different markets.
To start using the connector, you will need to have an Intento subscription. Contact your Customer Success Manager or hello@inten.to for more details. Once your subscription is activated, you can proceed with the installation process.
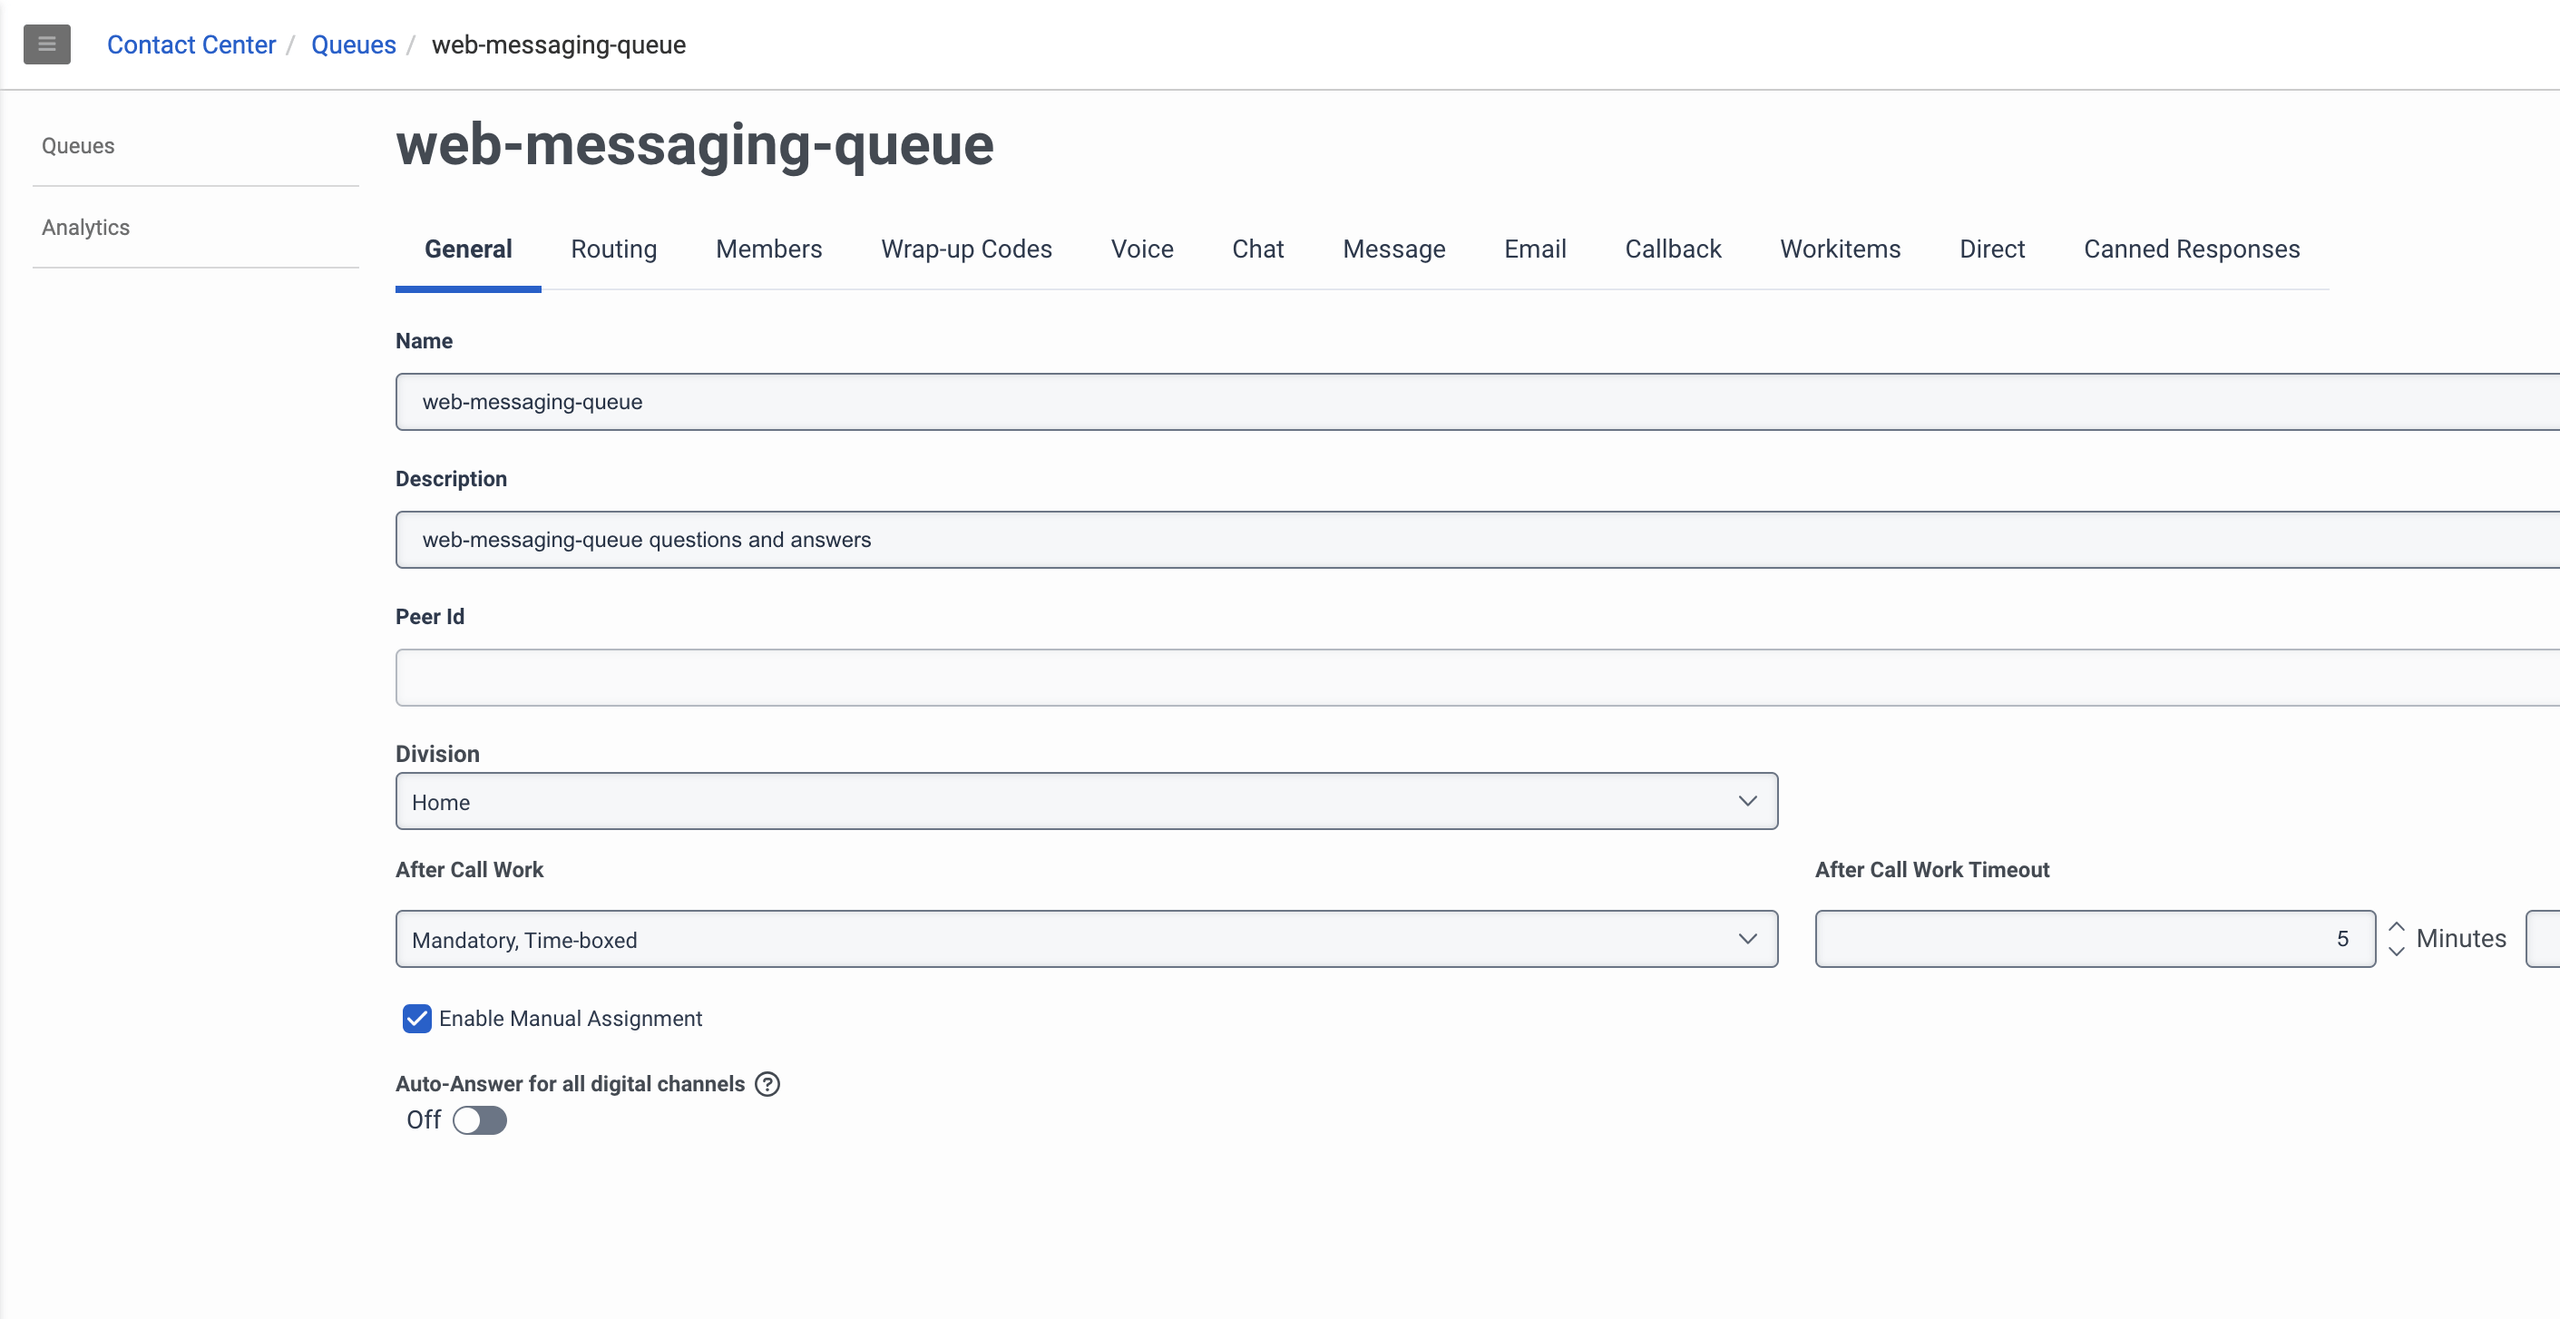
Create a Queue in Genesys Cloud
To create a queue:
Open Genesys Cloud
Go to Admin → Queues
Create a new queue
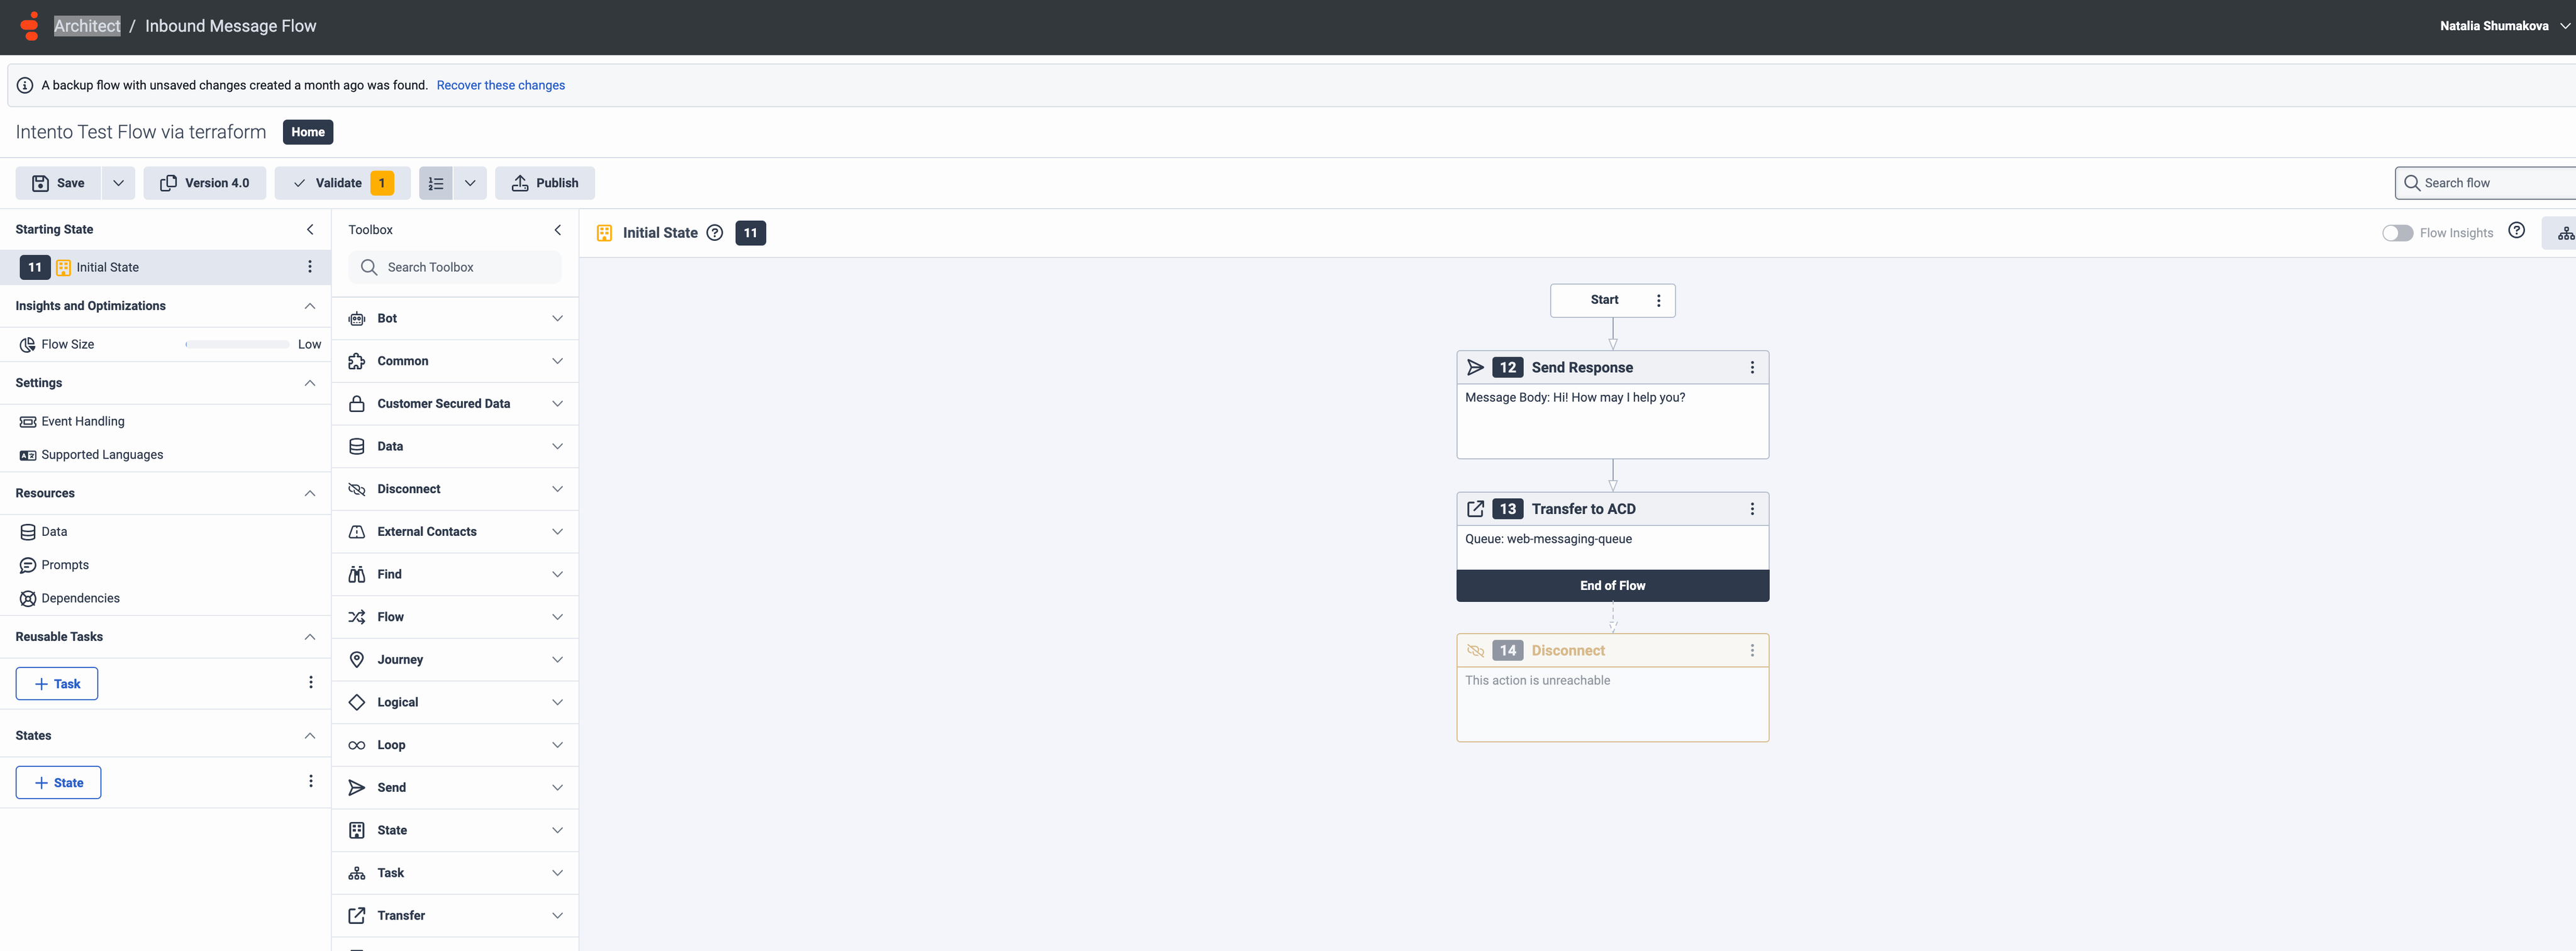
Create a Workflow in Genesys Cloud
To create a workflow:
Open Genesys Cloud
Go to Admin → Architect
Go to Inbound Messages
Add a new Workflow
Create a Workflow with the action Transfer to ACD.
To see an example of of workflow with the action Trasner to ACD, see Architect
In this action, you should select the queue from the first step
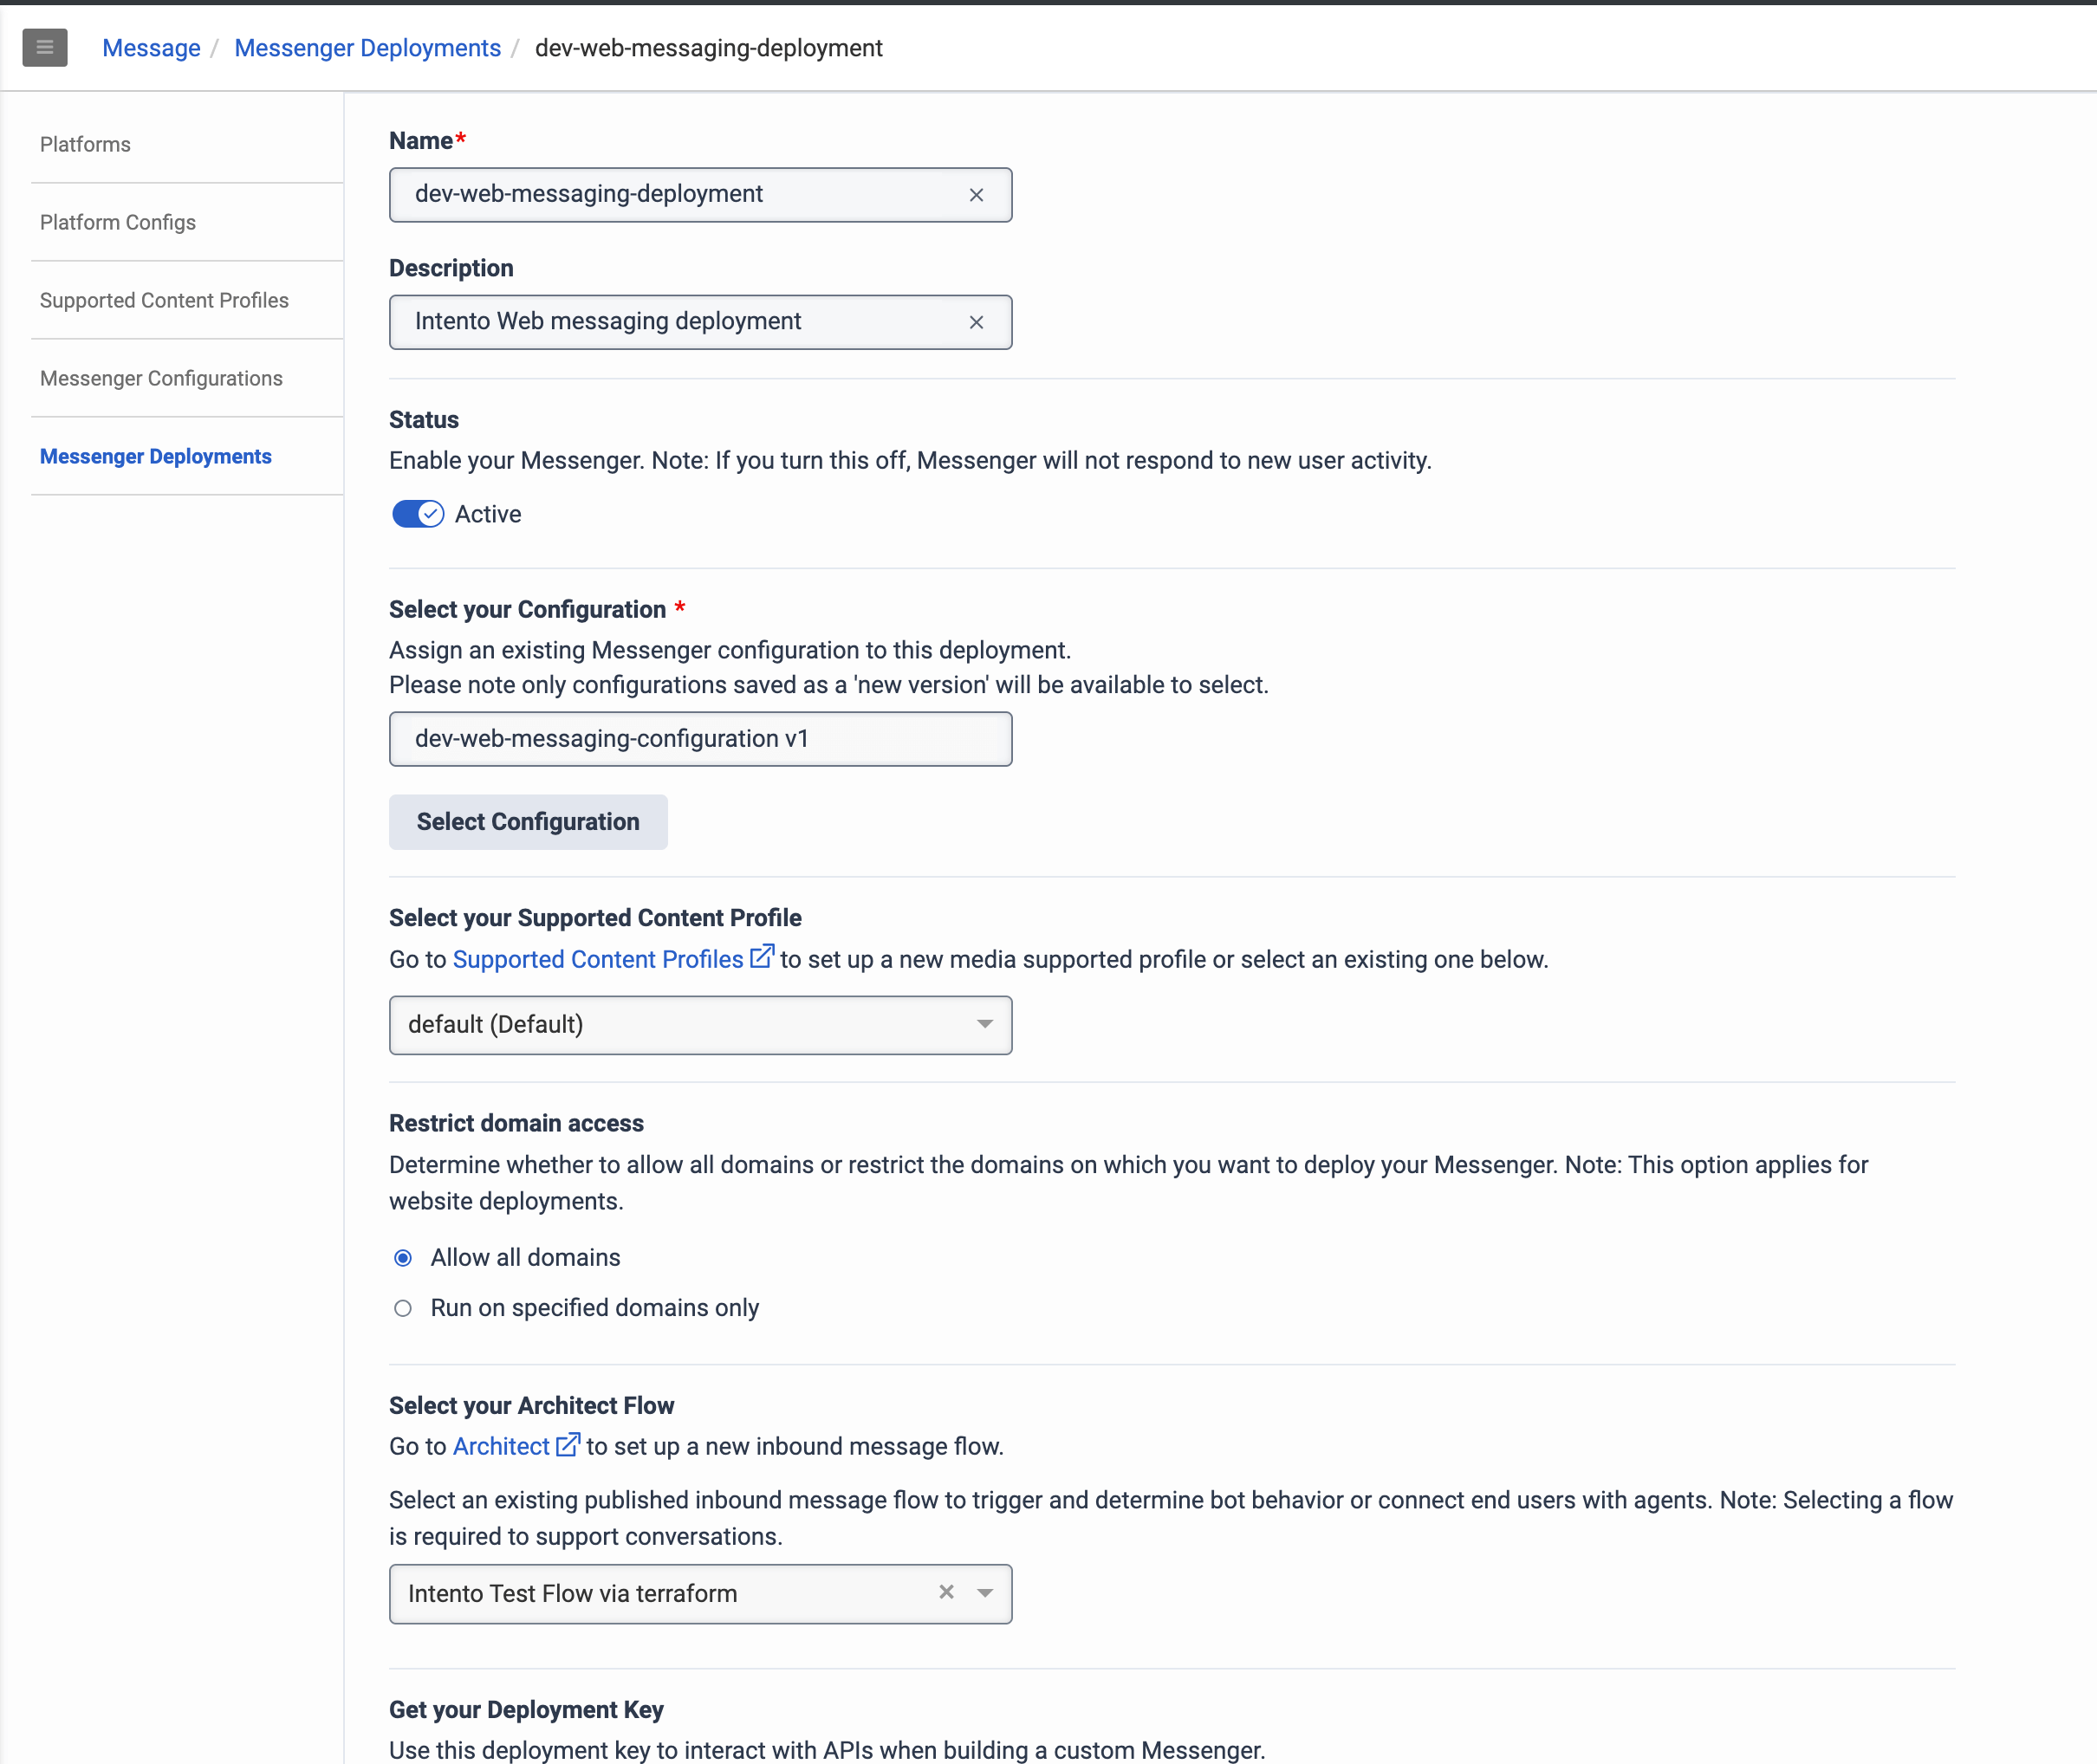
Create a Message Deployment in Genesys Cloud
To create a message deployment:
Open Genesys Cloud
Go to Admin → Message Deployments
Create new
The crucial thing is that you should select flow from the previous step
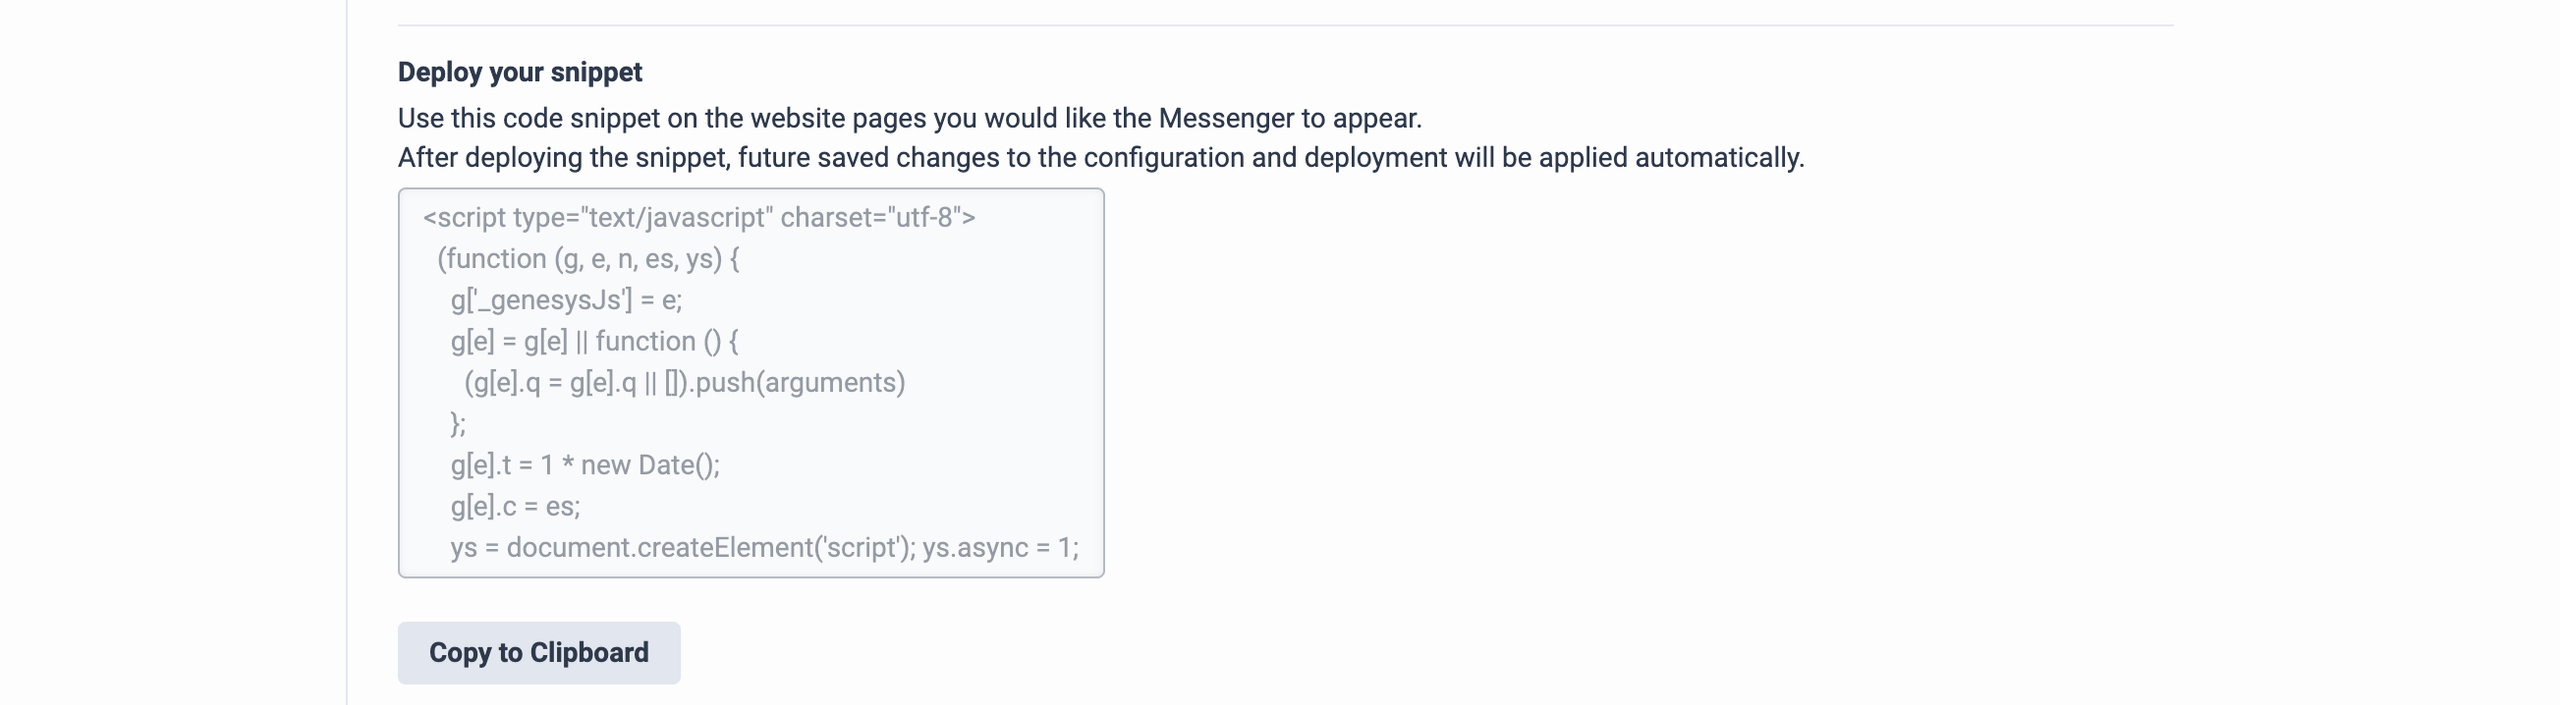
Get the code of the snippet for your website. Put this code in the place where you want to interact with the client
Create Integration in Genesys Cloud
To create an integration:
Open Genesys Cloud
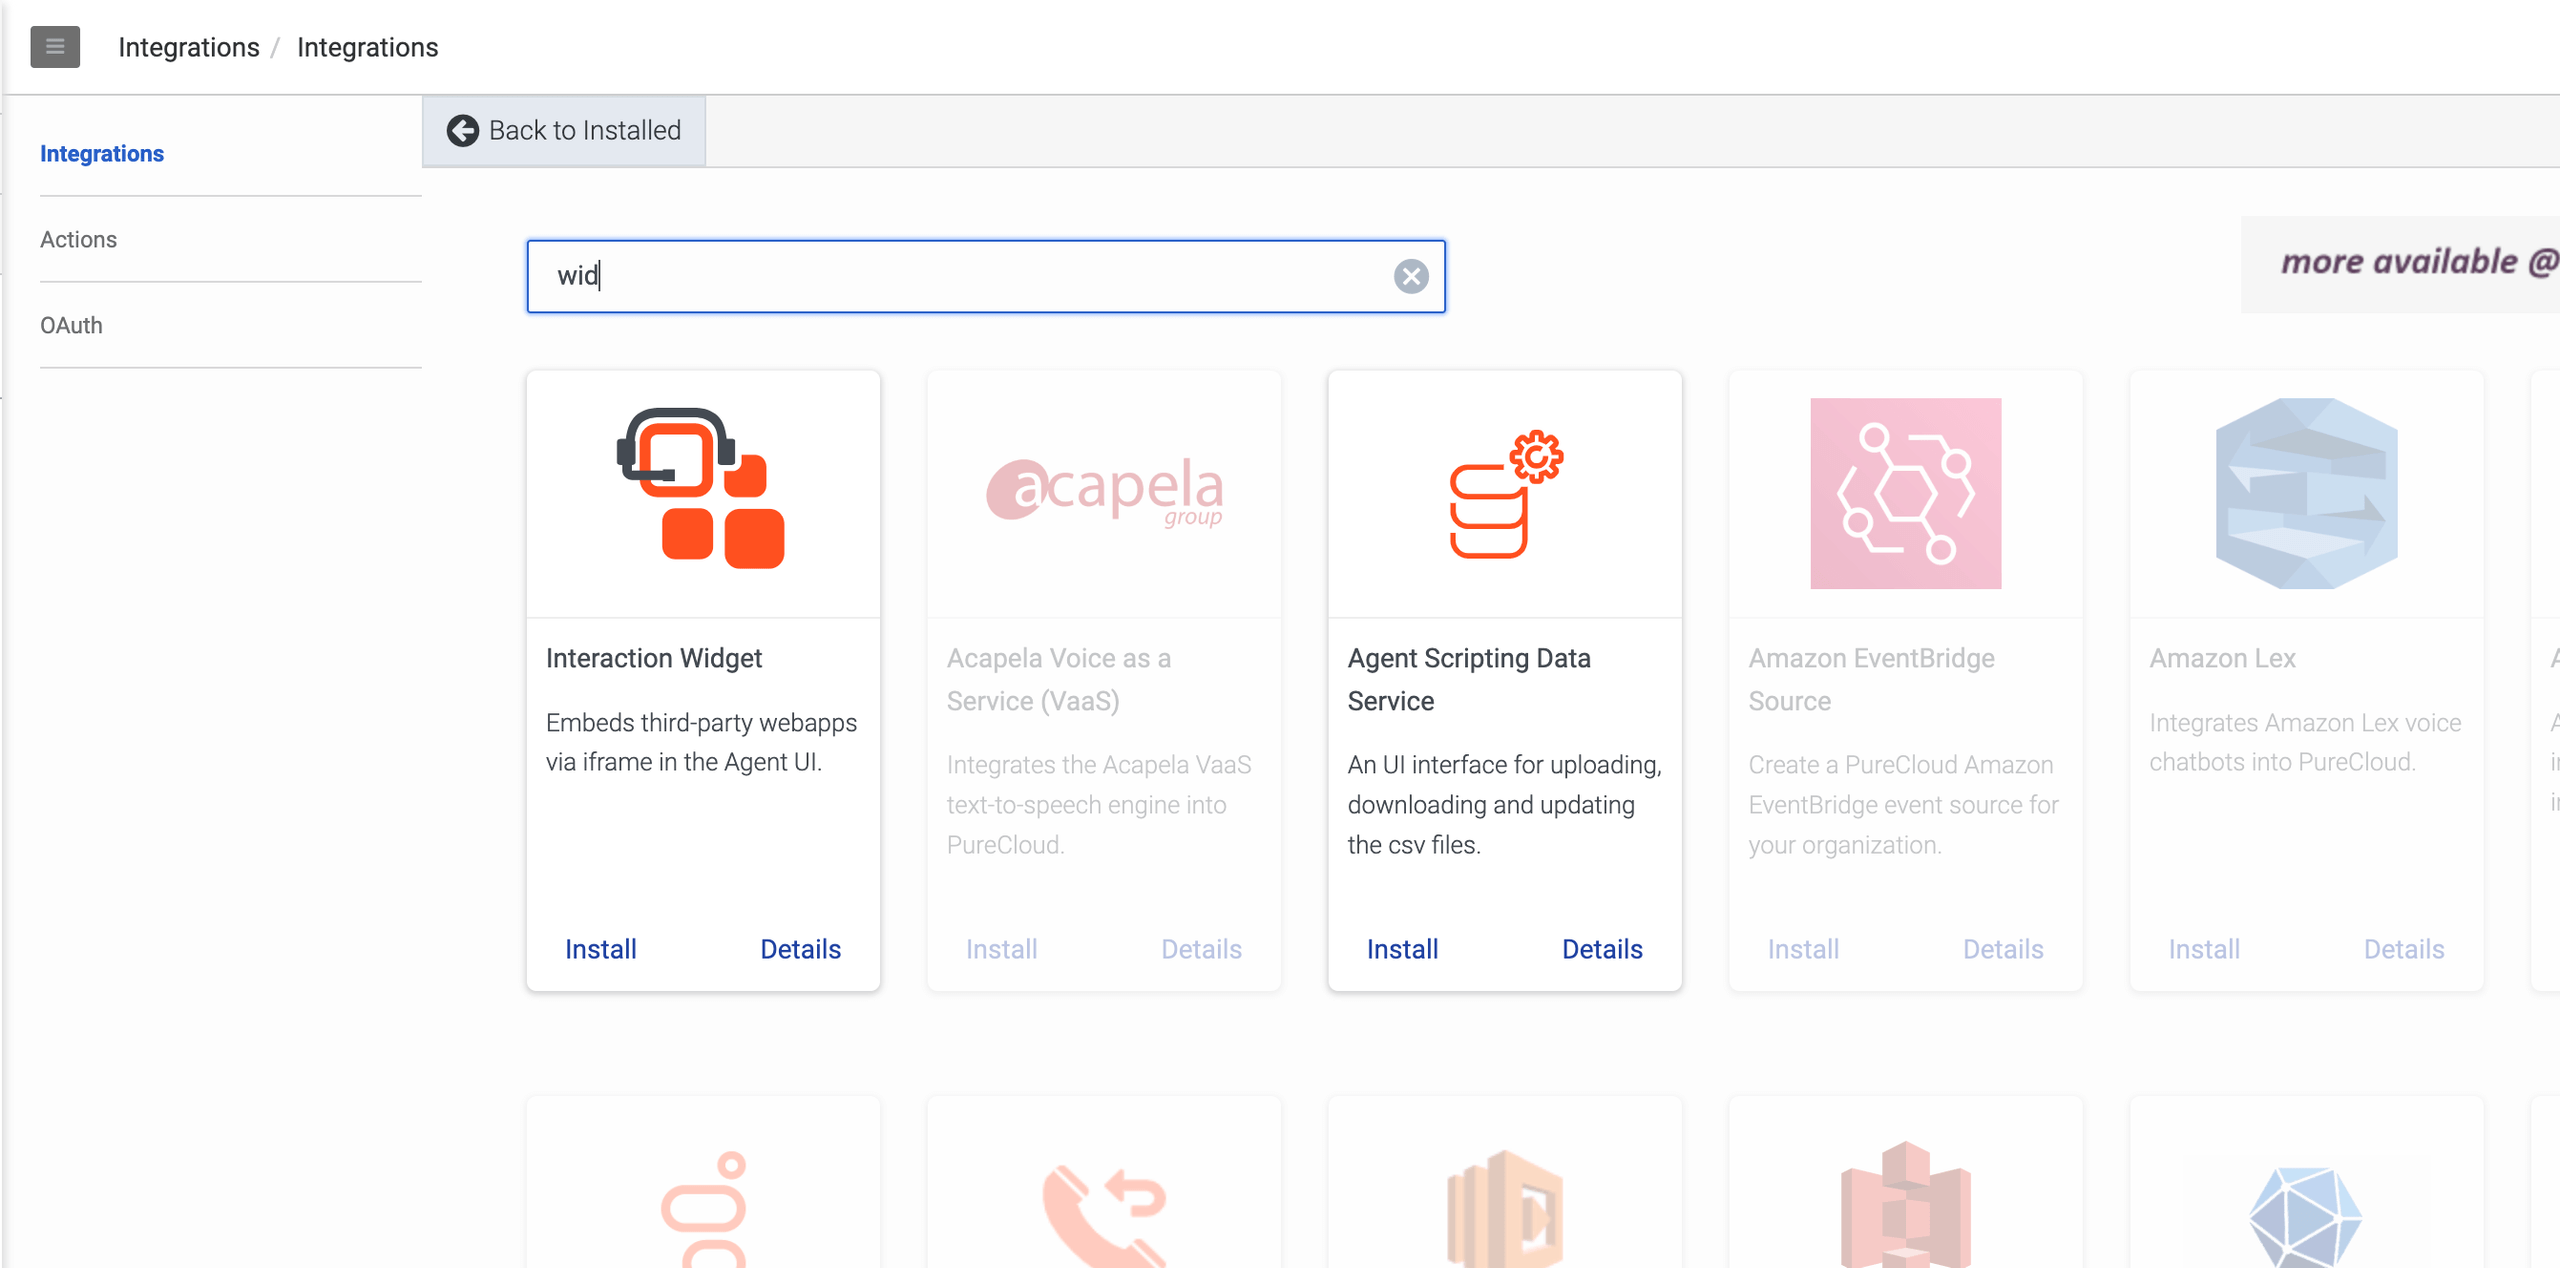
Go to Admin → Integrations
Add a new Interaction Widget
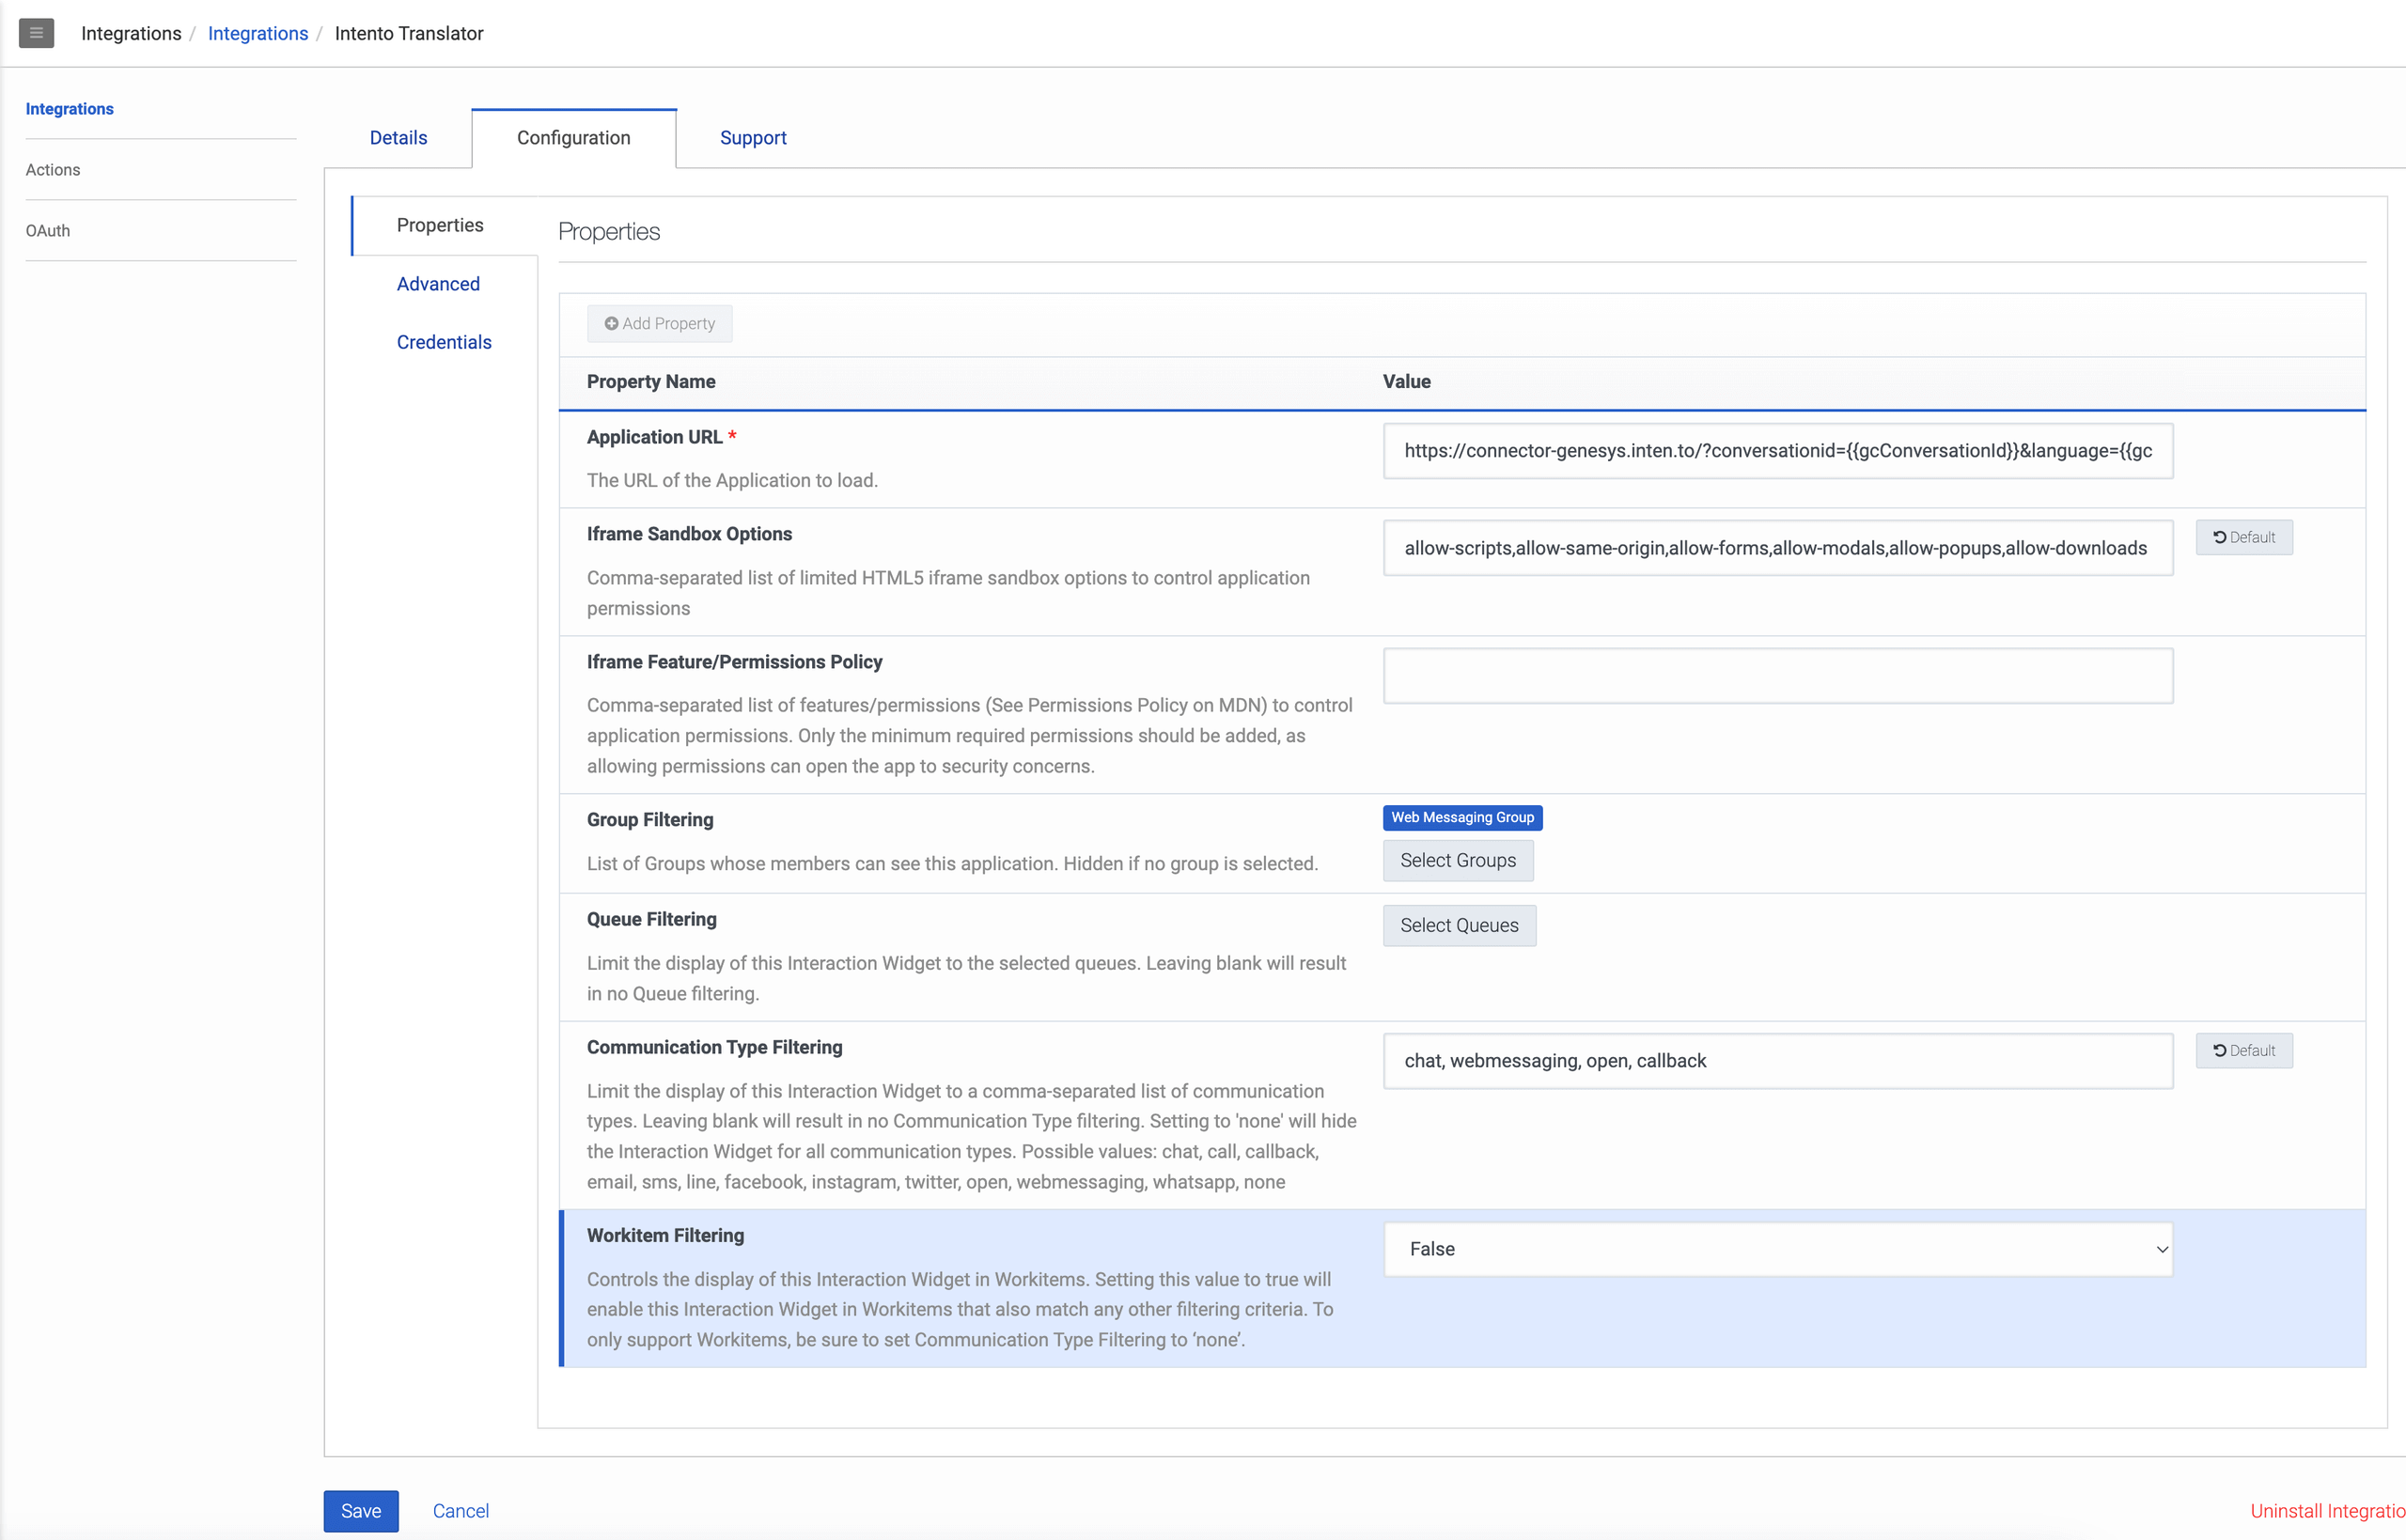
Define and specify main settings:
Application URL - https://connector-genesys.inten.to/?conversationid={{gcConversationId}}&language={{gcLangTag}}&translateApiKey=INTENTO_API_KEY
INTENTO_API_KEY can be found in the Intento Console
Iframe Sandbox Options - allow-scripts,allow-same-origin,allow-forms,allow-modals,allow-popups,allow-downloads
Group Filtering - you should choose the group on how the widget will be used
Communication Type Filtering - chat, webmessaging, open, callback
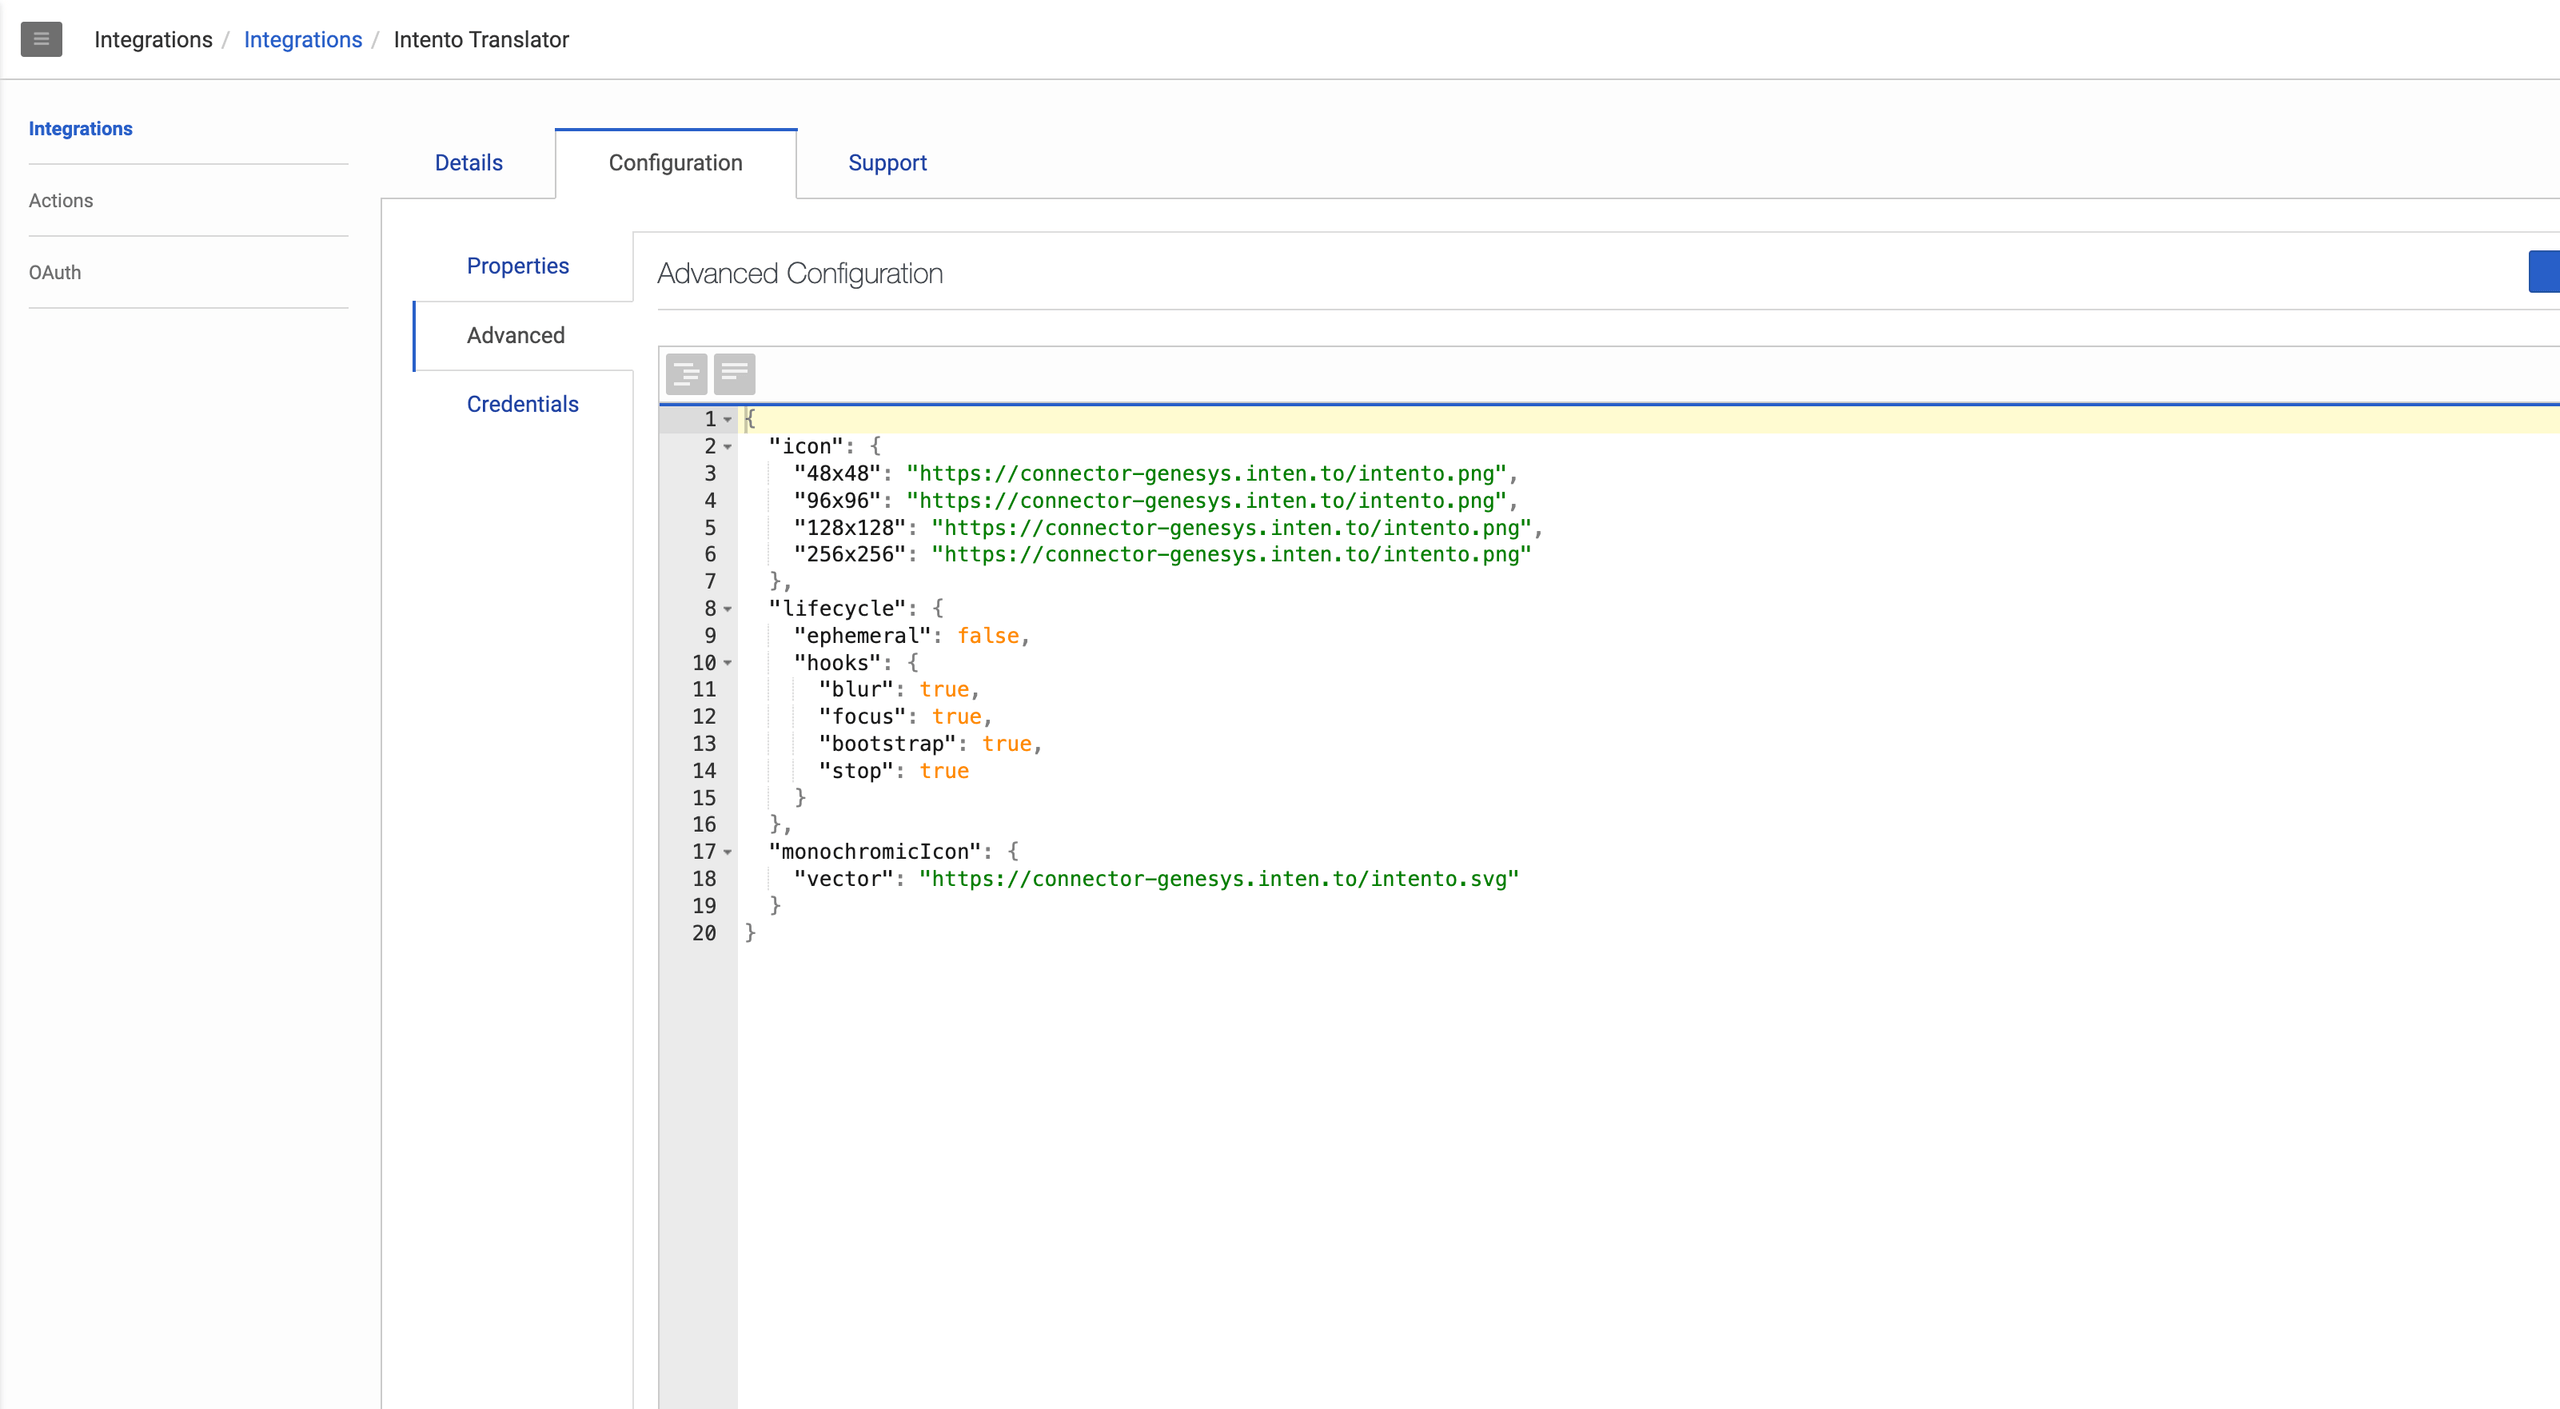
Set additional settings:
JSON for settings:
{
  "icon": {
    "48x48": "https://connector-genesys.inten.to/intento.png",
    "96x96": "https://connector-genesys.inten.to/intento.png",
    "128x128": "https://connector-genesys.inten.to/intento.png",
    "256x256": "https://connector-genesys.inten.to/intento.png"
  },
  "lifecycle": {
    "ephemeral": false,
    "hooks": {
      "blur": true,
      "focus": true,
      "bootstrap": true,
      "stop": true
    }
  },
  "monochromicIcon": {
    "vector": "https://connector-genesys.inten.to/intento.svg"
  }
}
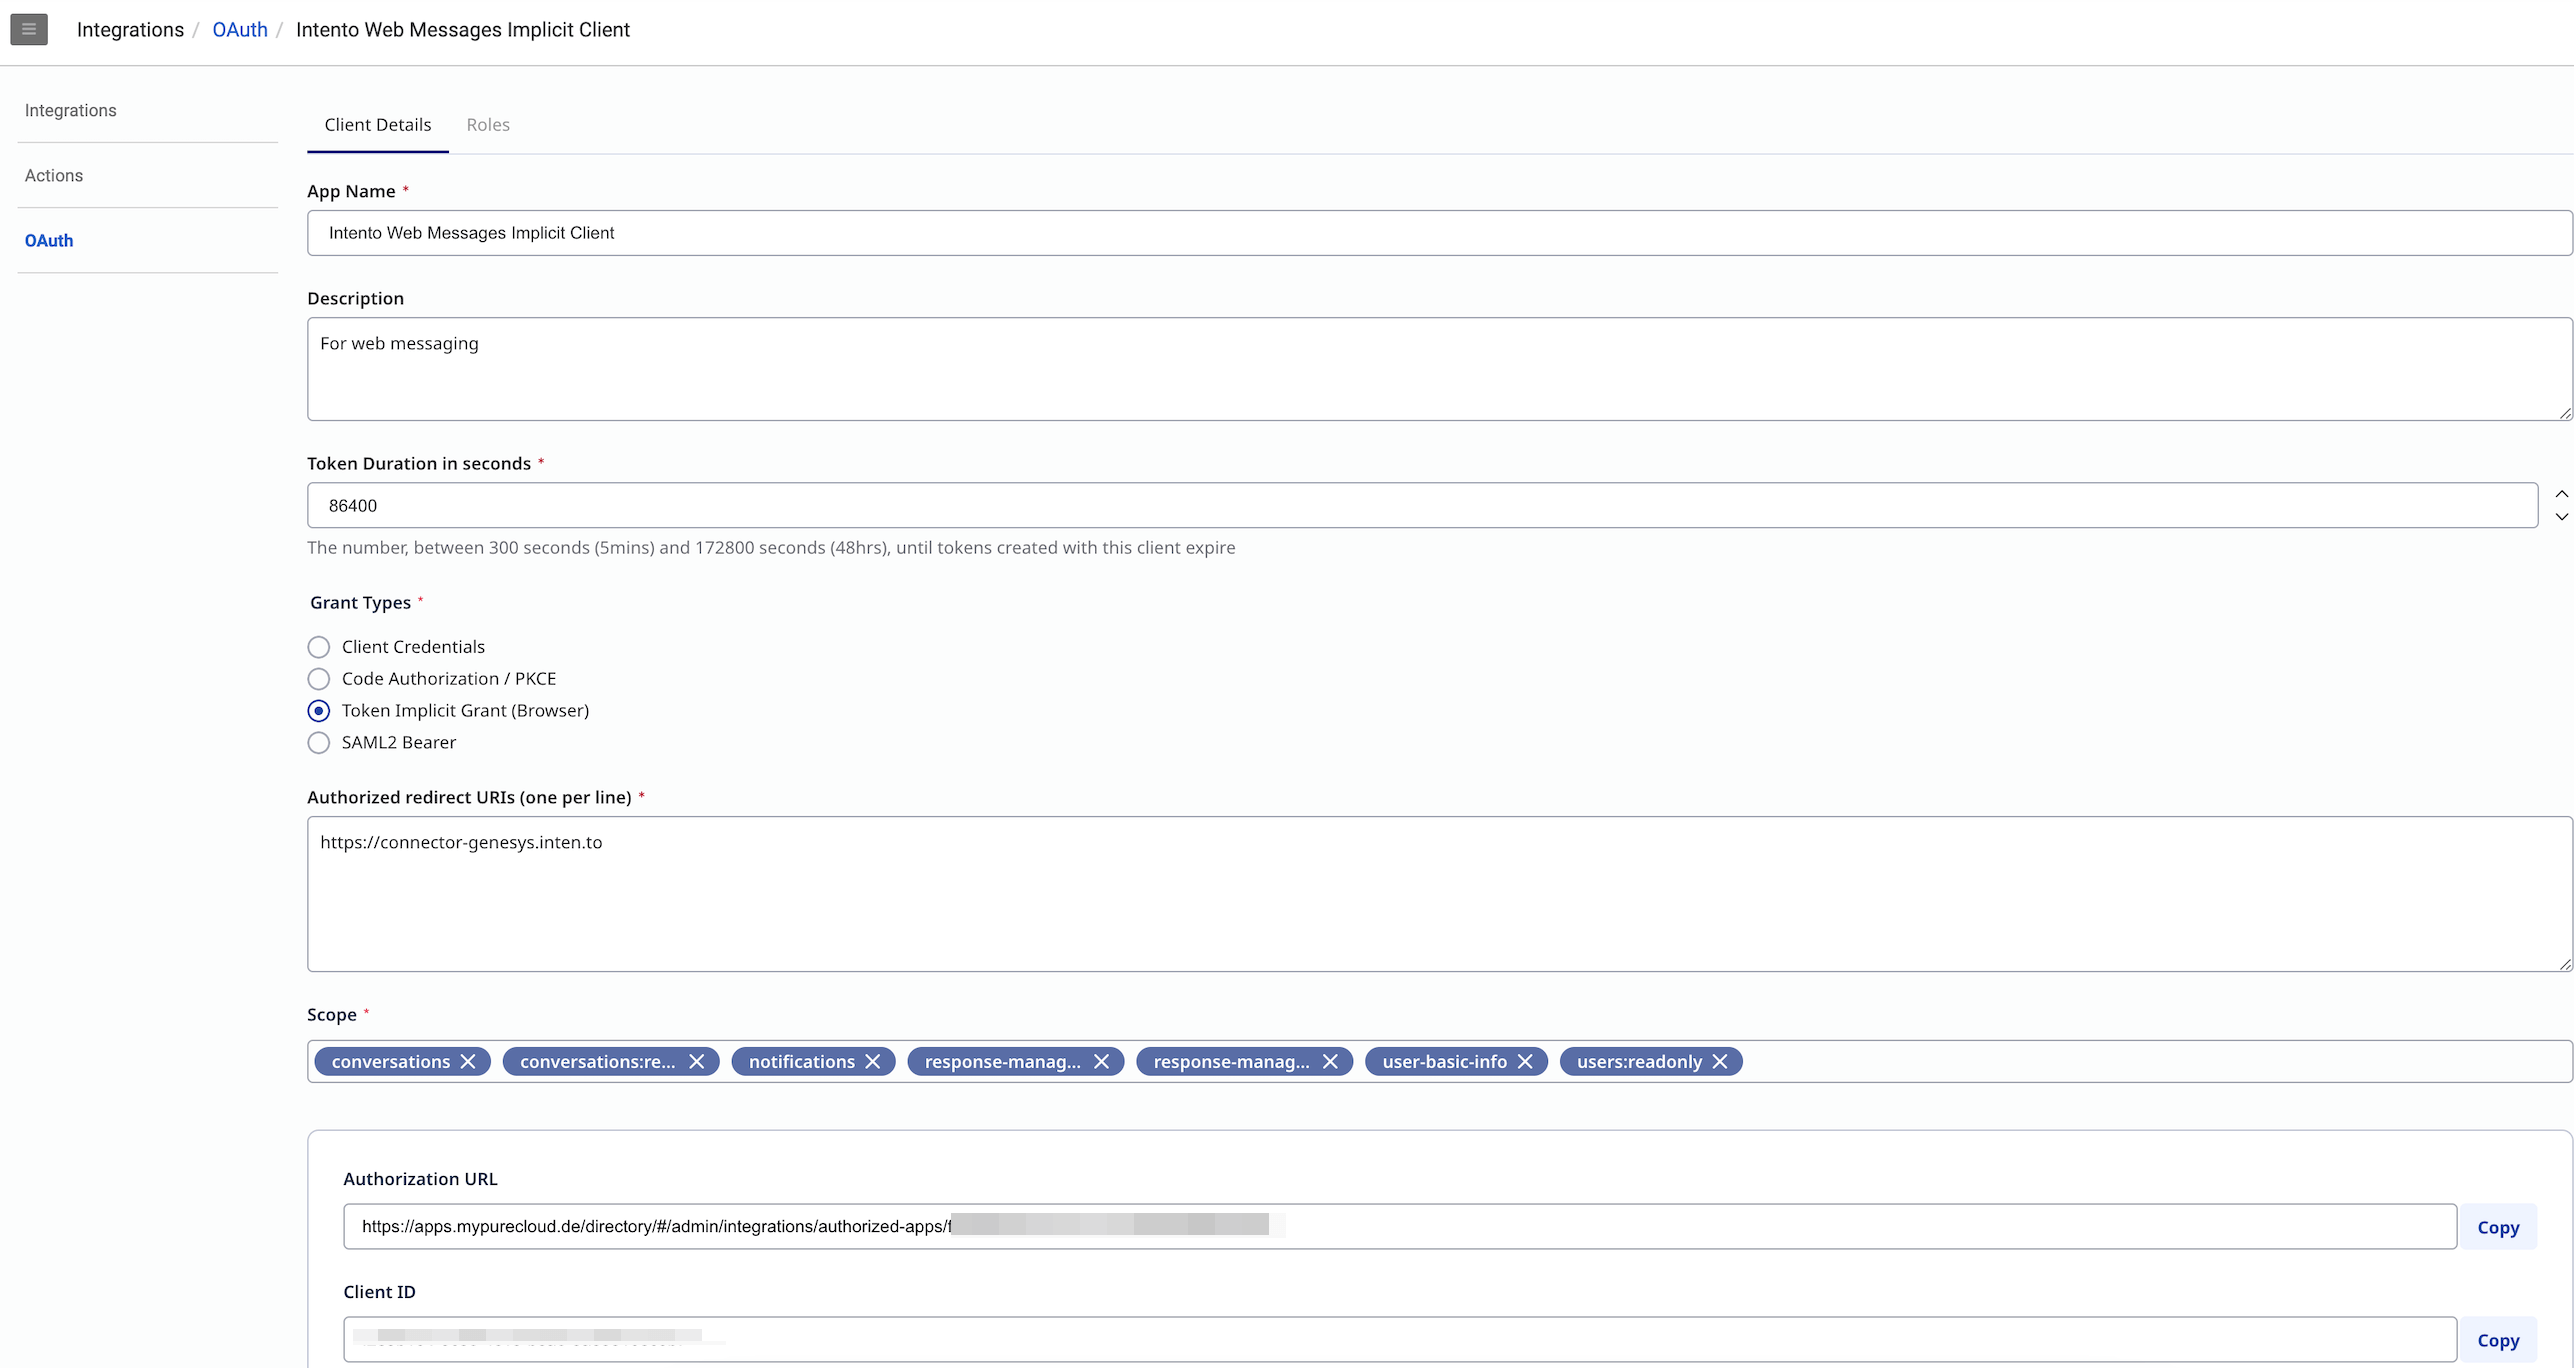
Go to OAuth and add a new OAuth Client with Authorized redirect URL -
https://connector-genesys.inten.to
Create Settings in Genesys via Terraform
If you don’t want to create all entities in Genesys Cloud manually, there is a way to create them via scripts. You can find the script on GitHub.
Please be aware that scripts might require some adjustments to fit your needs. Documentation about Genesys Cloud and Terraform can be found here: Terraform Registry